Creating the perfect home entertainment experience starts with installing a home theatre system. Our guide will walk you through the process, ensuring you get the best sound and visual quality right in the comfort of your own home. Whether you're a movie buff, sports fan, or gaming enthusiast, having a home theatre can transform your viewing experience. Start your search for the ideal audio visual equipment on Junk Mail and get ready to enjoy a cinematic experience to rival any theatre.
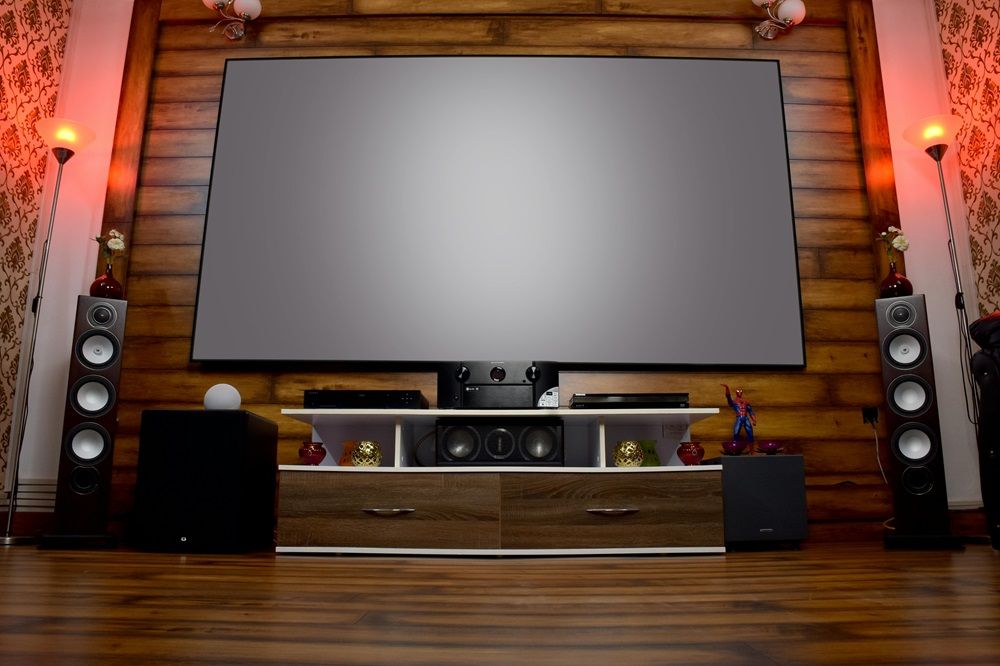 Photo by Avinash Kumar on Pexels
Steps to Set Up Your Own Home Theatre System
Step 1: Plan Your Setup
Before you start installing a home theatre system, it's essential to plan your setup. Consider the room size, layout, and acoustics. A dedicated room will work best, but a living room is just as suitable. Measure the space to determine the best size for your screen and the placement of your speakers.
Key Considerations:
- Room Dimensions: Larger rooms may need bigger screens and more powerful speakers.
- Seating Arrangement: Ensure everyone has a good view and is within the optimal audio range.
- Acoustics: Soft furnishings like carpets and curtains can enhance sound quality.
Step 2: Choose the Right Equipment
Selecting the right equipment is crucial for an optimal experience. Here’s a breakdown of what you’ll need:
1. Television or Projector:
- Television: For smaller rooms, a high-definition or 4K TV is ideal.
- Projector: Suitable for larger spaces and offers a cinema-like experience.
2. Sound System:
- Receiver: Acts as the hub of your system, connecting all your devices.
- Speakers: A 5.1 system (five speakers and one subwoofer) is a good start, but a 7.1 system provides a more immersive experience.
3. Media Player:
- Blu-ray/DVD Player: For physical media.
- Streaming Device: For accessing online content (e.g., Apple TV, Chromecast).
4. Accessories:
- Cables: HDMI cables for high-definition video and audio.
- Surge Protector: To protect your equipment from electrical surges.
- Remote Controls: Universal remotes can simplify operation.
Step 3: Set Up the TV or Projector
Television Setup:
- Mounting: Mount the TV on the wall or place it on a stable stand.
- Connections: Use HDMI cables to connect the TV to the receiver and other devices.
Projector Setup:
- Screen Placement: Install a projector screen on the wall.
- Projector Positioning: Mount the projector on the ceiling or place it on a shelf at the correct distance for optimal image size.
- Connections: Connect the projector to the receiver using HDMI cables.
Step 4: Instal the Sound System
Positioning the Speakers:
- Front Speakers: Place them on either side of the TV at ear level.
- Center Speaker: Position it directly above or below the TV.
- Surround Speakers: Place these to the sides or slightly behind the seating area.
- Subwoofer: Position it in a corner or near a wall for the best bass response.
Connecting the Components:
- Receiver to Speakers: Use speaker wires to connect each speaker to the corresponding port on the receiver.
- Receiver to TV/Projector: Connect the receiver to your display using an HDMI cable.
- Power Up: Plug in all components and switch on the power.
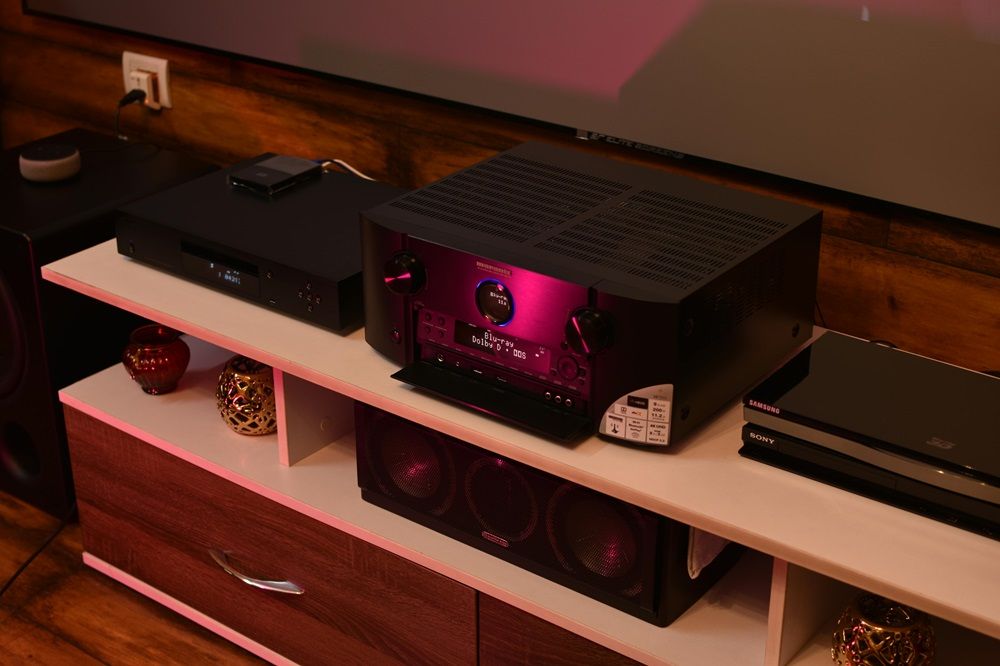 Photo by Avinash Kumar on Pexels
Step 5: Configure and Calibrate
Audio Calibration:
- Receiver Setup: Use the receiver’s automatic calibration tool if available. It adjusts the sound settings based on your room’s acoustics.
- Manual Adjustment: Fine-tune the speaker levels and crossover frequencies manually for the best sound.
Video Calibration:
- TV Settings: Adjust the picture settings on your TV or projector for brightness, contrast, and colour accuracy.
- Projector Alignment: Ensure the projector image is correctly aligned with the screen.
Step 6: Connect Media Players
Streaming Devices and Blu-ray/DVD Players:
- HDMI Connections: Use HDMI cables to connect these devices to your receiver.
- Network Setup: Connect your streaming devices to your home Wi-Fi network for internet access.
Gaming Consoles:
- Connections: Connect consoles like PlayStation or Xbox to the receiver via HDMI.
- Settings: Adjust the settings on the console for the best audio and video performance.
Step 7: Final Touches
Cable Management:
- Organise Cables: Use cable ties or clips to keep your cables tidy and avoid a tangled mess.
- Conceal Cables: Consider running cables through walls or using cable covers for a clean look.
Remote Control Setup:
- Universal Remote: Program a universal remote to control all your devices with a single controller.
- Smartphone Apps: Many modern receivers and devices can be controlled using smartphone apps.
Installing a home theatre system can seem daunting, but with careful planning and the right equipment, you can create an amazing home entertainment experience. By following this step-by-step guide, you'll ensure your system is set up correctly, providing you with endless hours of enjoyment. Whether you're watching movies, playing games, or streaming your favourite shows, a well-installed home theatre system will transform your viewing experience from run-of-the-mill to pure pleasure. Get ready to experience a movie theatre in the comfort of your own home by searching for the best audio visual equipment on Junk Mail.
Read Related Articles
You may also like

How to Manage Festive Season Preparations on Junk Mail for Your Family
09/09/2024
Types of amplifiers: An overview for buyers
18/04/2023